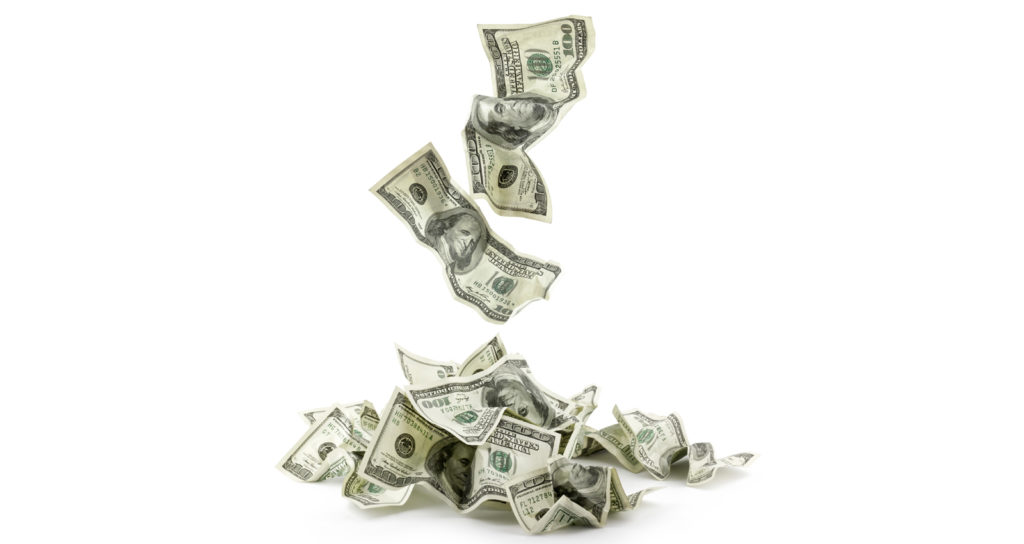
Several security features have been added to U.S. currency to deter counterfeiting. However, these measures are only effective if the individuals accepting the money know them. Here are a few things you should look for.
- Holding the bill to a light will reveal several security features.
- You should see a holograph of the face image on the bill, and it should match the bill’s portrait face. For instance, a $100 bill should have the holograph of Benjamin Franklin, not George Washington.
- There is a security thread running from top to bottom. The strip is located on the left side of the portrait on $20 and $100 bills; it is located on the right side of the portrait on $5, $10 and $50 bills.
- Microprinting, or small printed text, that states the bill’s denomination is on both sides of the bill. On the back of the $5 bill, it states “USA FIVE” and on the $10 bill, it states “USA TEN” and so on.
- A watermark is in the unprinted space to the right of the portrait and can be seen from both sides of the bill.
- Very fine lines can be seen behind the portrait and on the reverse side.
- Under ultraviolet light, each bill’s security thread glows a specific color. On the $5 bill, the thread glows blue; The $10 bill’s thread is orange. The $20 bill’s thread glows green, the $50 bill’s thread glows yellow and the $100 bill’s thread glows pink.
- Compare and feel the texture of the paper with other bills.
If you realize you may be receiving a counterfeit bill, continue the transaction, make note of the individual giving it to you and get a driver’s license or license plate if possible. If you realize it after the fact, turn the bill in to Bank of North Dakota, so they can submit it to the U.S. Treasury.
To learn more, visit the U.S. Currency Education Program’s website which offers interactive education and training on spotting counterfeit bills.
Click here to learn about Same Day ACH.
 An official website of the State of North Dakota
